
A common practice in modern software development companies is to have a Code Review process in their development teams, which I believe is a must for a clean code base.
In this post, I am going to show you how I do the Code Review using Git.
Simple vs complex PRs
PRs can be divided into simple or complex. With practice, over time you can get a feeling of what makes a PR simple and what makes it complex, and it can differ from person to person. Anyway, each one of us considers some PR as simple or complex based on their criteria, or for the lack of it, just a gut feeling 😉.
Dealing with simple PRs
For simple PRs, I like to use the help of the platform where the code is hosted, be it GitLab, GitHub, BitBucket, Azure Repos, you name it. All of them are pretty good at offering basic functionality, such as:
- viewing the changed files
- making comments
- marking something as already reviewed
- offer suggestions the other developer can merge directly in their code (not all platforms, though)
Dealing with the complex PRs
Now, when it comes to complex PRs, what I am missing when using the above-mentioned platforms is to actually change the code itself, run the tests for my changes and commit these changes into a separate commit.
Let’s formalize what is it exactly we want to achieve here:
- have the changes from the PR in Git’s
Working Directory - after reviewing the piece of code, commit original changes alongside changes from Code Review (if any)
- in the end, we’ll have just one additional commit with Code Review changes
Pre-requisites
- Git
- VS Code (optional)
- Git Lens extension for VS Code (optional)
All of the steps I will show can be made in any other IDE or even using the command line.
My recipe for Code Review using Git
- revert all the commits from the PR starting from the latest
- reset to the last commit from the feature branch
- commit all changes from the
Working directoryto the “Code review” commit - revert the “Code review” commit
- reset to commit “Code review”
- do the actual review and
commit amendoriginal changes with any modifications from the Code review
Don’t worry if this looks too abstract, we’ll cover it in the Example section.
Example
Let’s see how to use this flow on a sample project.
You can clone this repo and try it out yourself here
Project setup
To keep things simple, I will use a project with two branches:
- main - the branch to which we are going to merge PR
- fix-prime - the branch on which changes are made and are ready for a review
On the main branch, we have two commits - the Initial commit with README.md and Prime where we added the prime.js file.
 main branch
On the other hand, the fix-prime branch has 3 commits in front of the main branch that are used to make fixes to the prime.js
 fix-prime branch
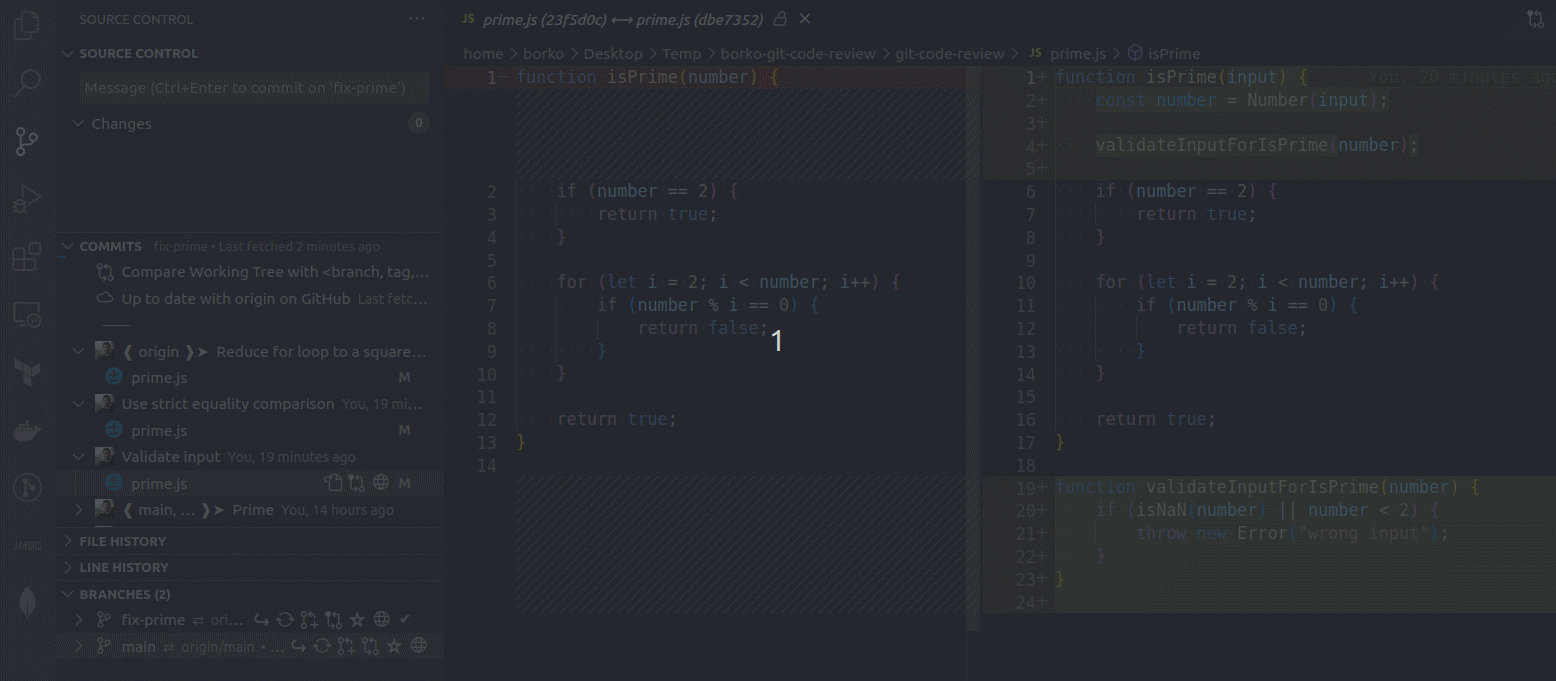
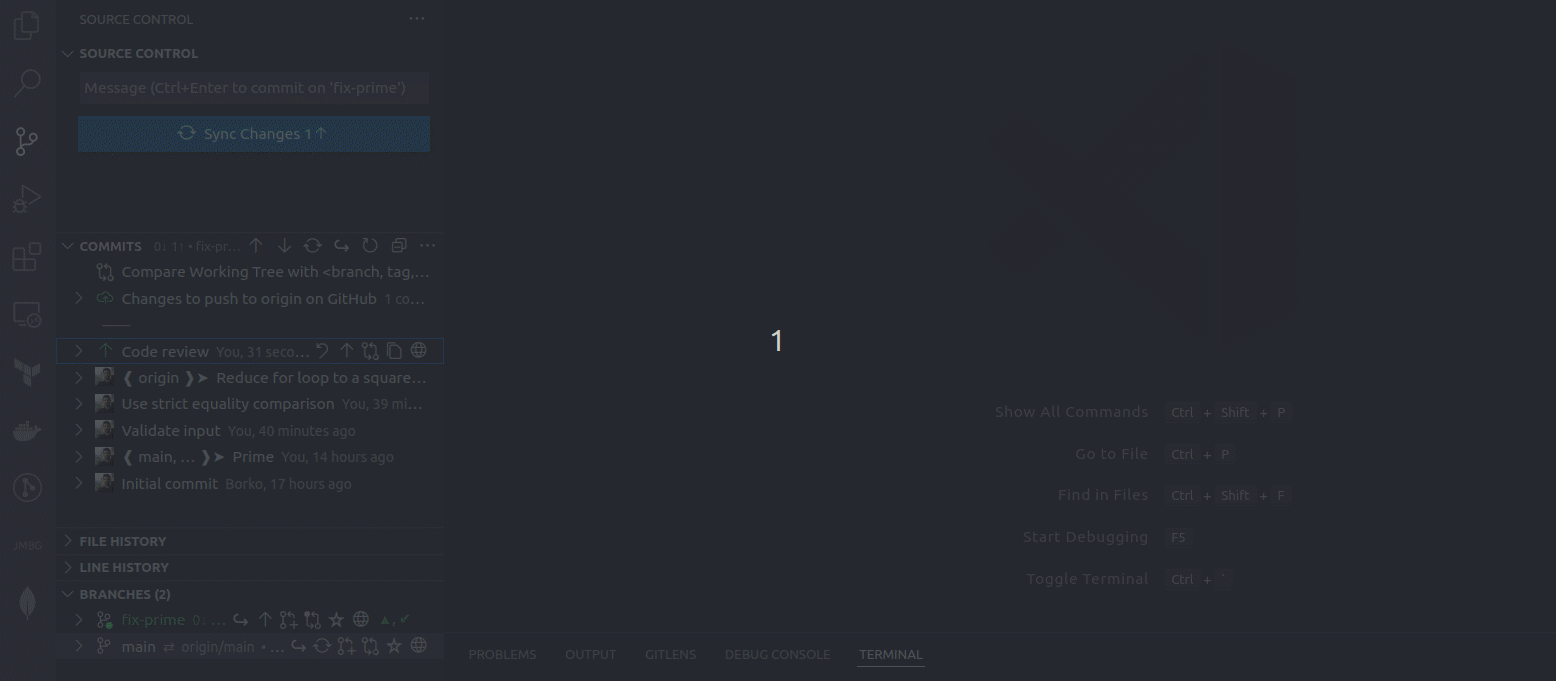
Step 1 - revert all the commits from the PR
We need to revert all the commits starting from the last commit made in the branch until we get to a commit from the main branch.
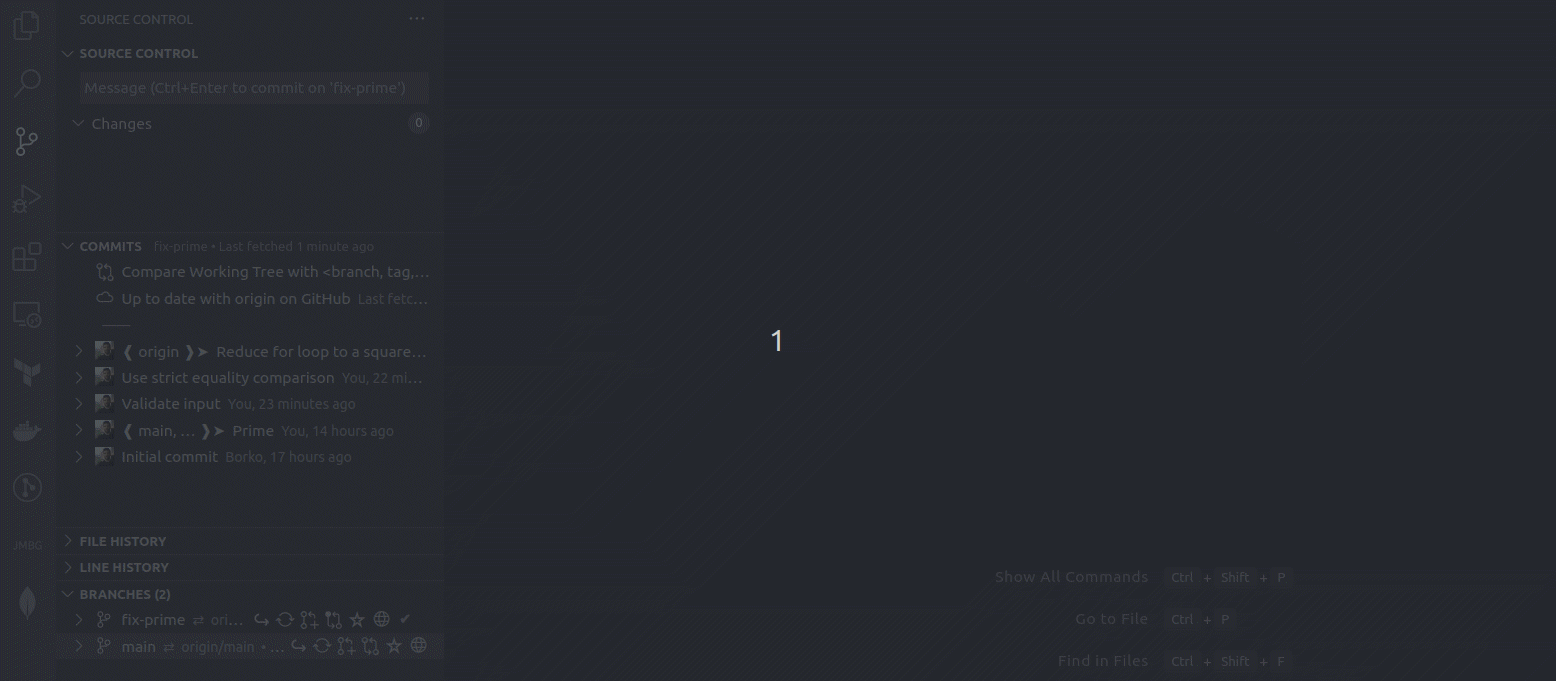 step 1 - revert all the commits from the PR
Using git from the terminal you can do the same by running the following command for every commit:
1
git revert --no-edit <commit-SHA>
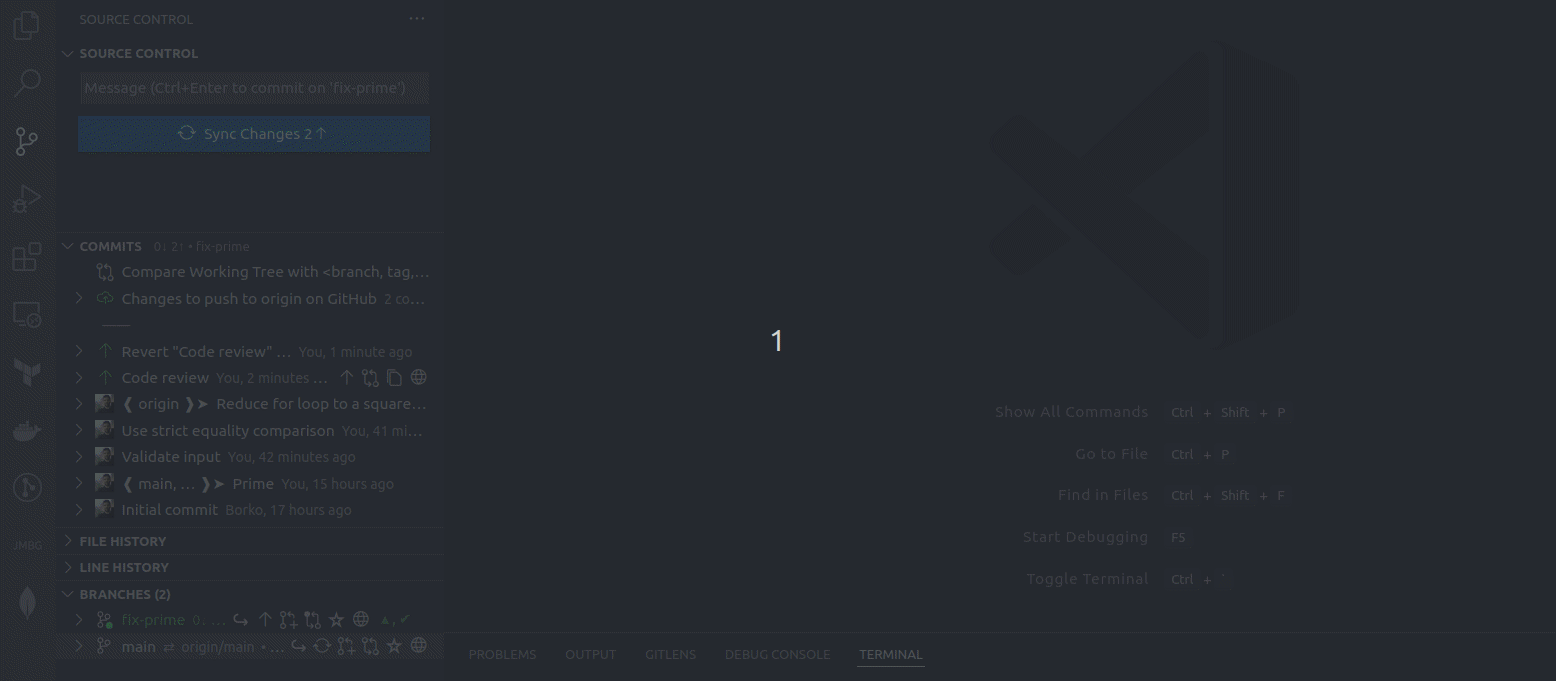
Step 2 - reset to the last commit
Once we have all the commits reverted, we’ll reset to the last commit from the main branch.
 step 2 - reset to the last commit from the fix-prime branch
1
git reset <commit-SHA>
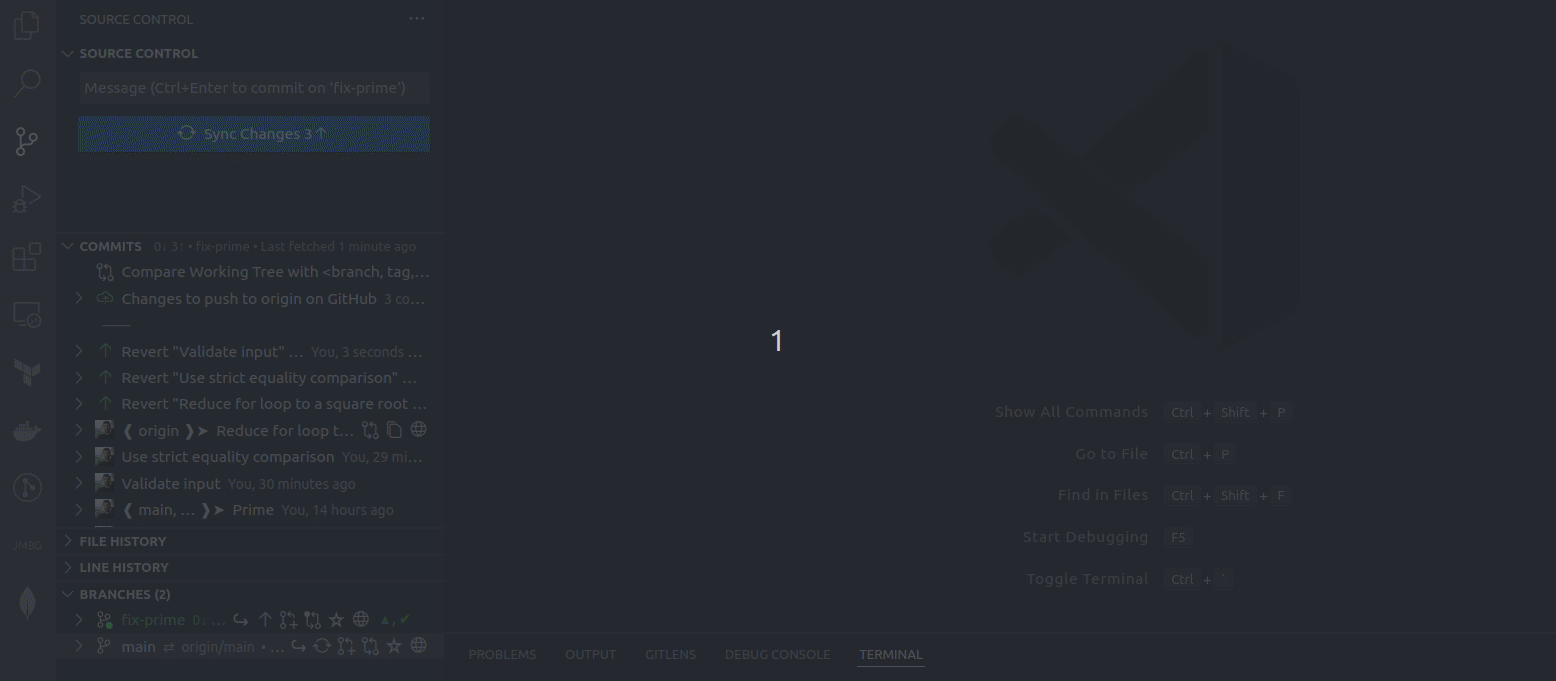
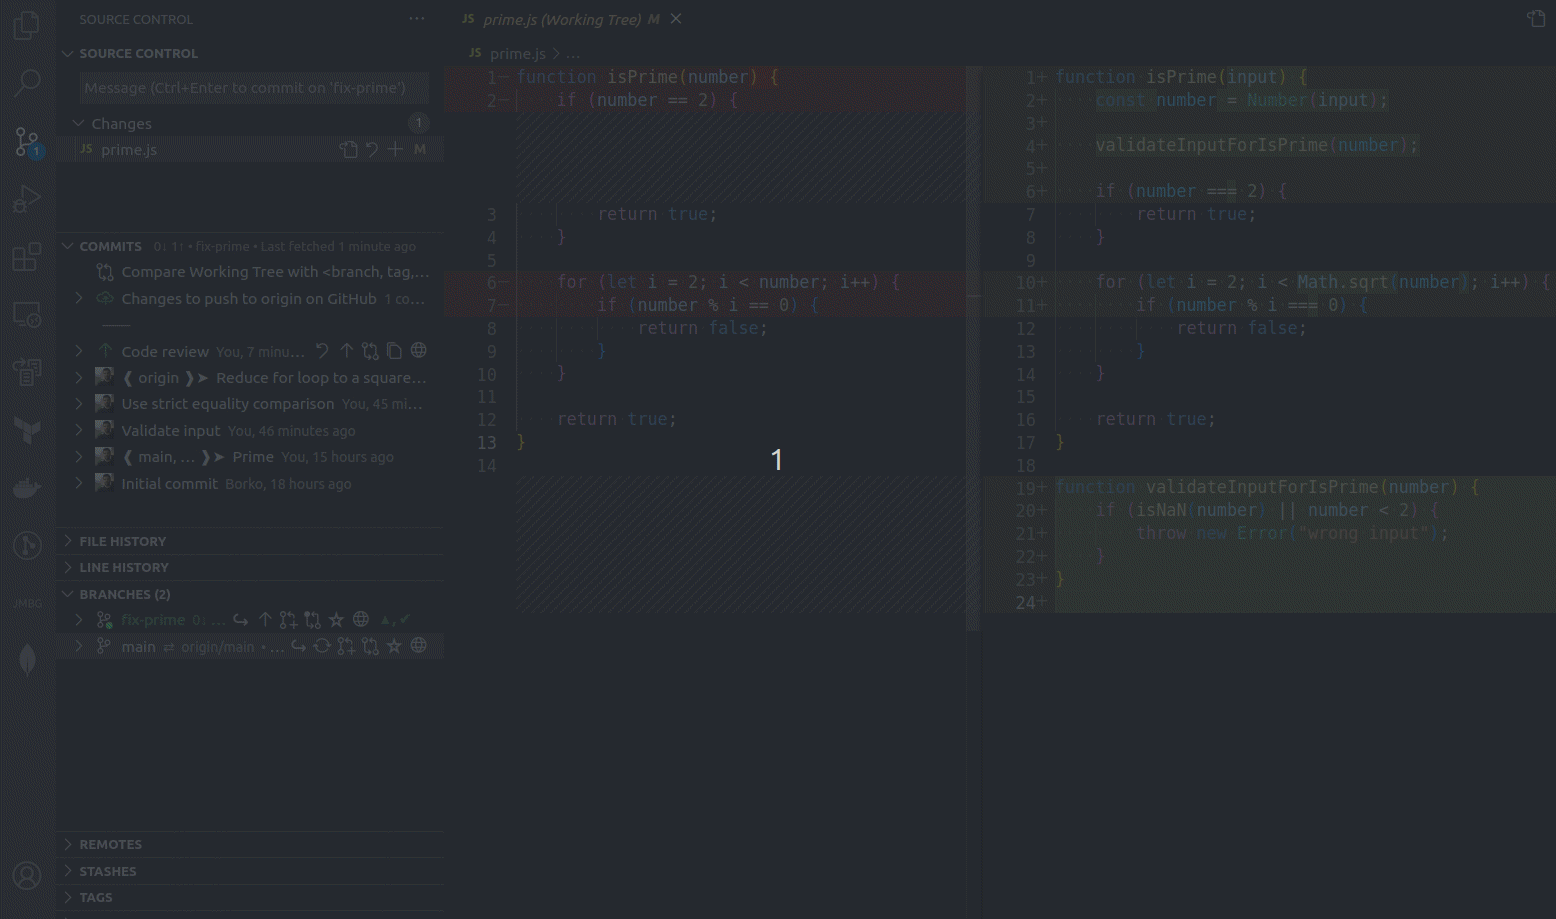
Step 3 - create a new commit called “Code review”
Now we’ll create a new commit with all changes in the Working directory and we’ll name it the Code review.
 step 3 - create the “Code review” commit
1
2
git add .
git commit -m "Code review"
Step 4 - revert that new commit
After we have all the reverted changes from commits in the feature branch merged into one commit (Code review branch), we need to revert that branch as well, and you’ll see in a moment why.
 step 4 - revert the “Code review” commit
1
git revert --no-edit <commit-SHA>
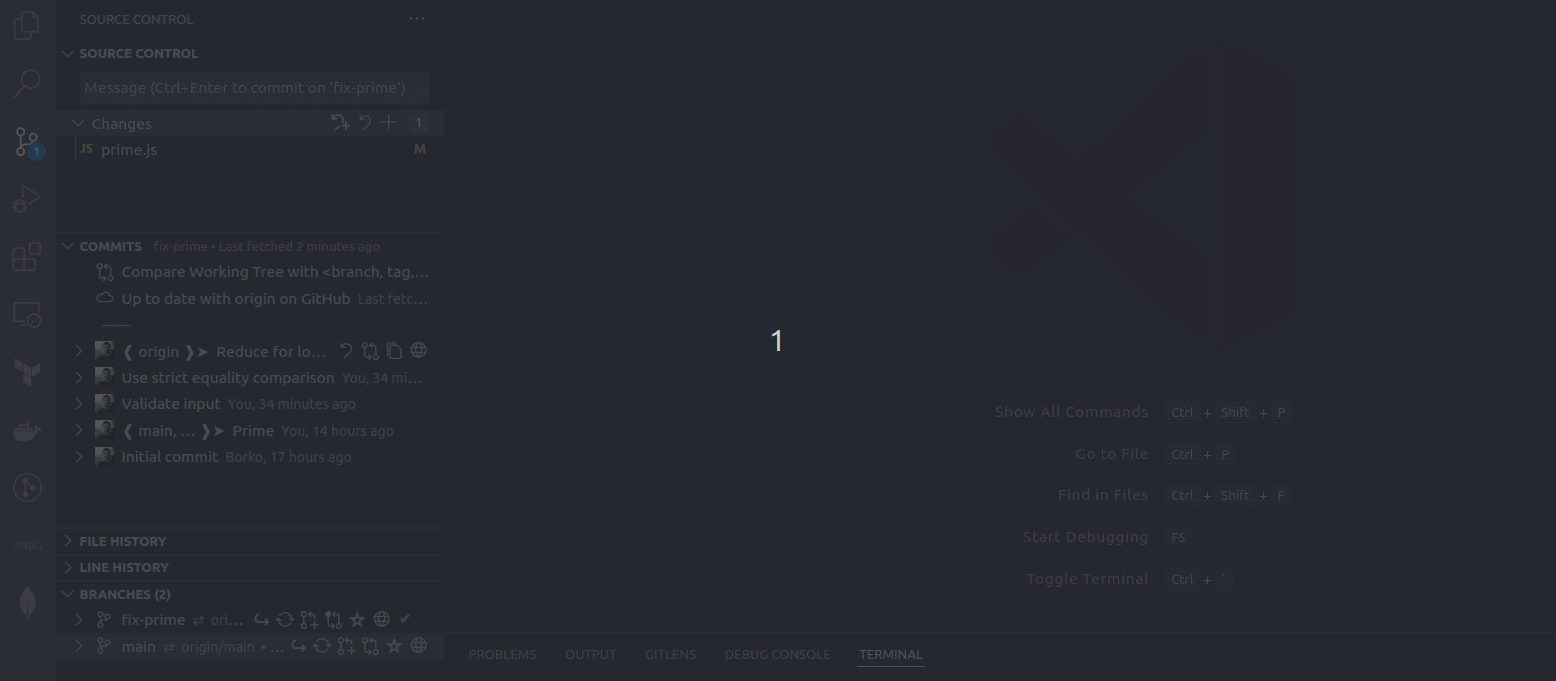
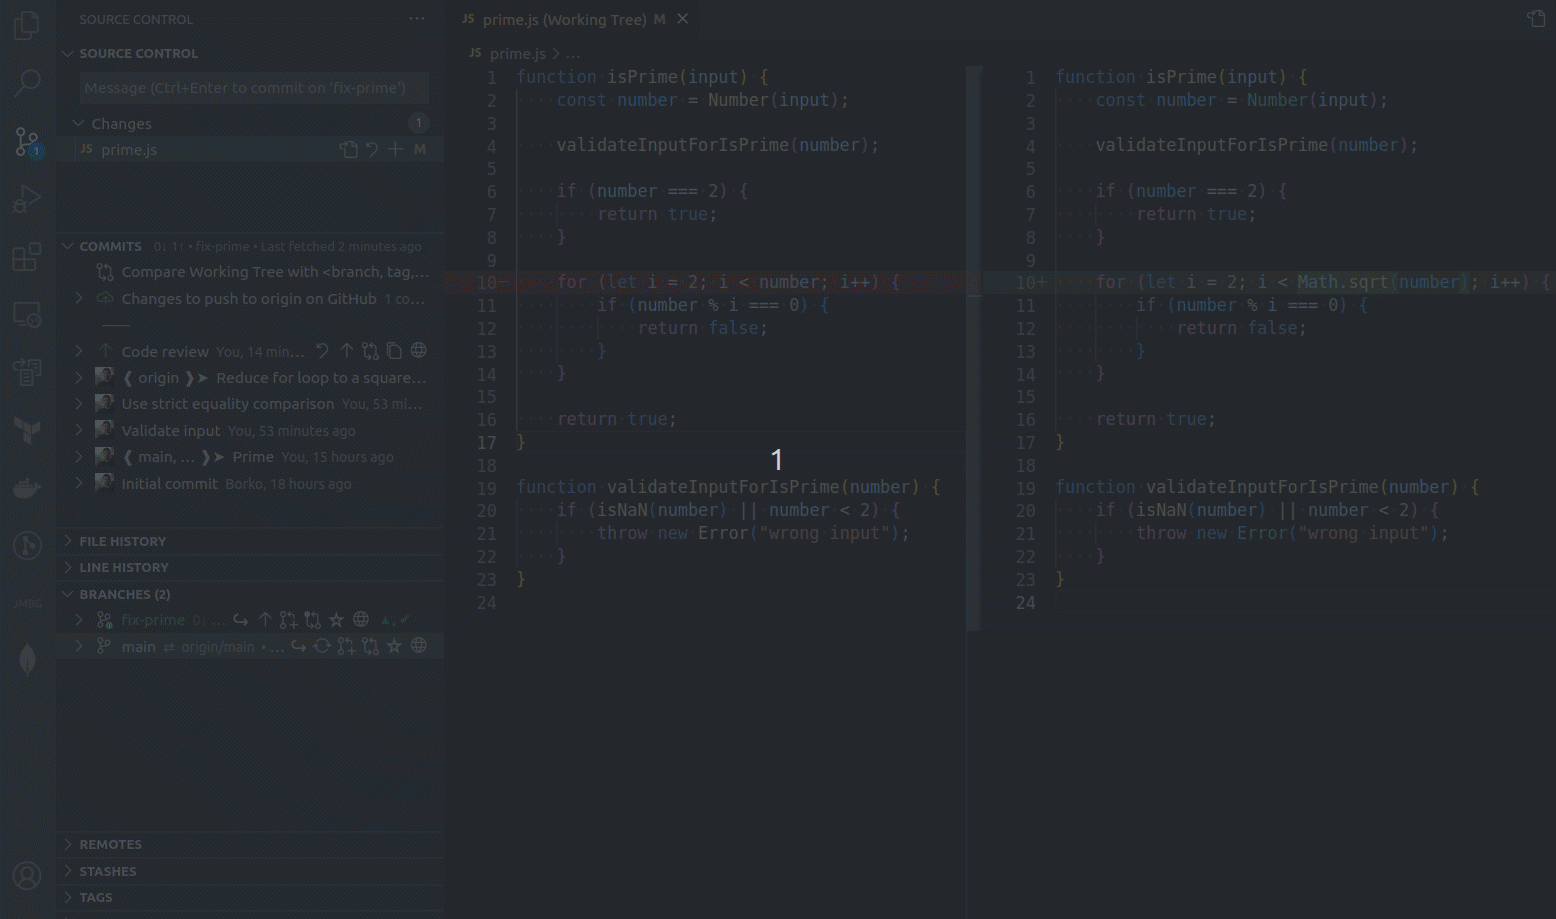
Step 5 - reset to commit “Code review”
Now reset to the Code review branch, essentially leaving changes of the commits from the feature branch to Git’s Working directory.
 step 5 - reset to the “Code review” commit
1
git reset <commit-SHA>
Now that we prepared our code base for a code review, we can start the code review process.
Step 6a - commit original changes as is
Now we can go with the code review process. In this example, we’ll show how to commit original changes without any modifications to them.
 step 6a - commit original changes to the “Code review” commit
1
git commit --amend --no-edit
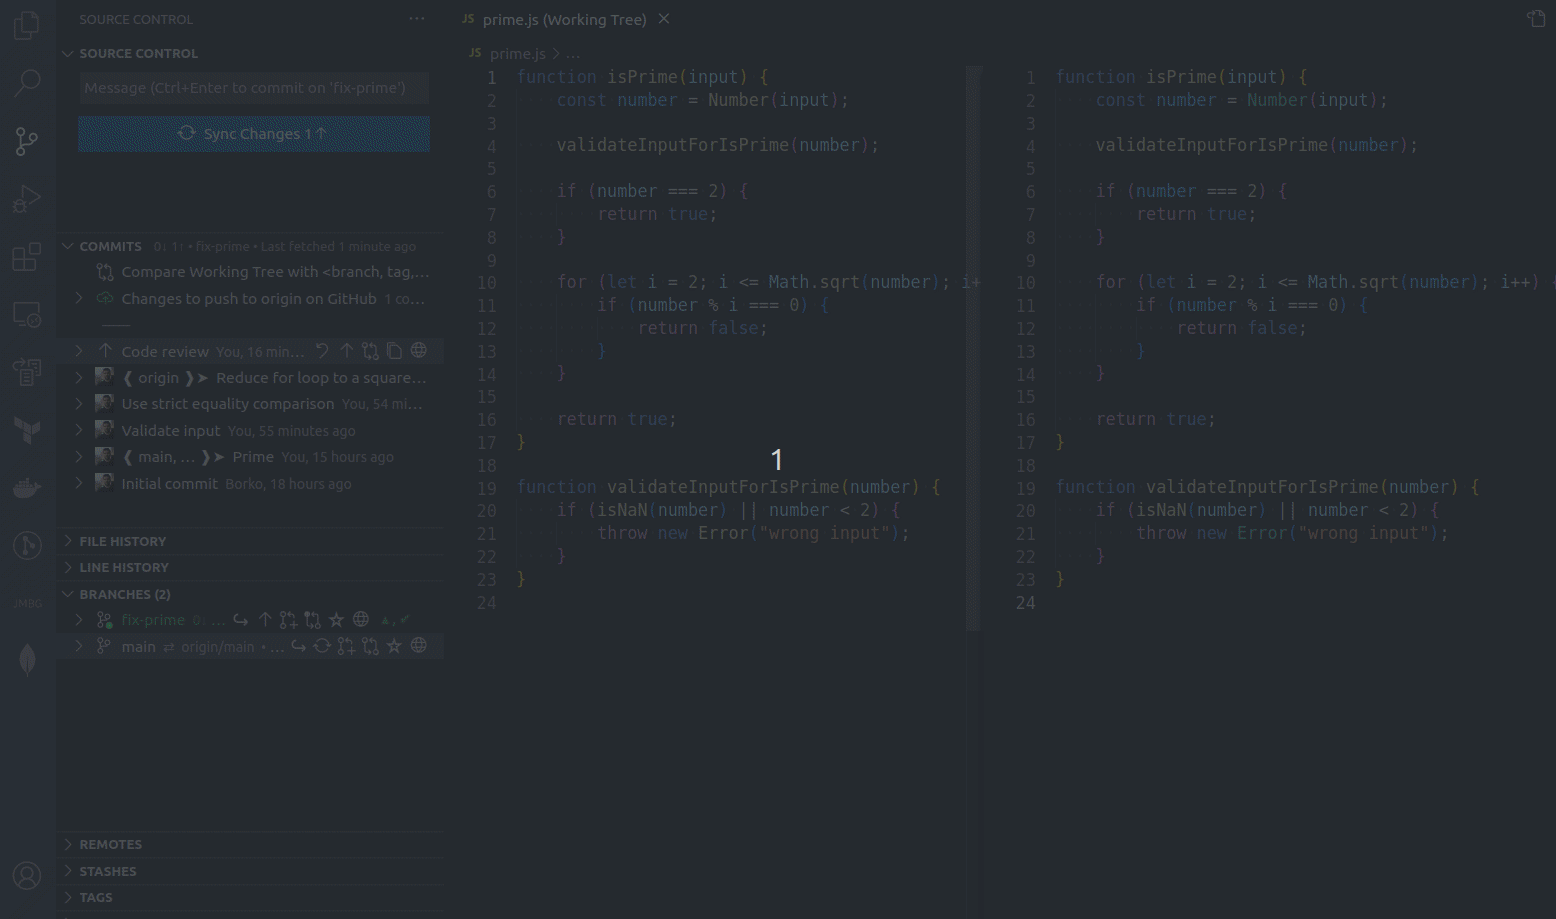
Step 6b - commit original changes with some modifications from the code review
You’ll see here how easy it is to make modifications to the original changes and commit them.
We spotted that the condition is wrong, it should be <= instead of <. Let’s see how to do this modification.
 step 6b - commit modifications to the PR in the “Code review” commit
1
git commit --amend --no-edit
The result
And this is what we get at the end - one commit with all modifications we made in the code review process.
 The result of the Code Review
You may wonder what happens if you did not make any modifications? In such case, Git will warn you that doing
commit amendwill make your commit empty. It’s up to you do you prefer to have an empty Code review commit, or you prefer to delete it. If you choose to do the former, then you should commit with:git commit amend --no-edit --allow-empty